
 In response to my Noise Reduction Software Roundup article, several readers commented that I should try out Topaz Labs DeNoise. I had never heard of Topaz Labs, so this was a new revelation for me. Initially, I did download Topaz DeNoise 2.x and was very unimpressed, so I didn’t bother to write an article. However, recently I had a chance to play around with DeNoise 3 and the results were much better. This article is a quick review of the product using some of the same images and methodologies, but not exactly the same format.
How does it work?
Of the products reviewed in the previous round-up I’d say this user-interface is probably closest to the winner – Noiseware, but not in a good way. The user-interface here is just just basic programming with only one real “feature” and that is its presets section with a visual preview (that isn’t dynamic). Here’s a quick look:

I wasn’t very impressed with the user-interface, but then again that’s what I do for my day job so I might be a bit biased. However, what I did find was that there were a variety of UI quirks (like a menu button that displayed a context menu) and just flat out bugs (like sliders that begin to vanish due to z-order issues when you drag them all the way to the right).
However, if there’s one redeeming feature of the UI (albeit with a odd quirk – more on that later), is that several presets on how you can do noise reduction are featured on the left hand side which show you the results on your image. This was a nice touch that I felt that some of the other programs in the round-up might benefit from adding to their user-interfaces. It does have a bug though in that the default position of this thumbnail is seemingly chosen at random and when you pan in the window it doesn’t update. However, if you hit the refresh button all is well again. Auto-refresh on mouse-up might be a good idea in the future.
The user-interface is limited to just a handful of sliders that control the impact of noise reduction on the image, and all but the super smooth preset seem to introduce a odd artifact that reminds me of looking a snowflake under a microscope. It’s really quite bizarre, and something that made me completely dismiss the 2.x version. However, the “super smooth” preset obliterates all noise to create a plastic-like appearance to the image which some will like and others will dismiss as too destructive to image detail.
Noise Reduction Roundup Images
Here’s the exact process I used:
- Open CR2 in Photoshop CS4 32-bit on Windows Vista 32-bit
- This launches ACR 5.2, go to the Detail tab and set Noise Reduction to 0 (XMP data from disk has cropping info – XMP was generated from Lightroom 2.3 where I catalog my files)
- Open object at Original Size
- Duplicate the layer and name it Denoise 3
- Save PSD
- Apply the Super Smooth preset the layer. I chose this preset as the others introduced the weird artifact mentioned earlier which I found to be an unacceptable modification of the existing noise.
- Save PSD
- File | Save As… JPEG and choose 12 when the dialog comes up.
- For Chicago, I created a Text layer watermark and showed both the image and watermark layers.
- Open PSD’s of the cropped images from the previous article series and add a new layer for Denoise 3 add it to the composite image.
Canon G9 @ ISO 400
Here’s a shot I took with a Canon G9 at ISO 400 which was fairly noisy. Hover over the shot below to see the before and after (pay attention to the top of the image to see the bad noise in the original). This is straight out of camera with no post-processing, so it still needs a little work (especially sharpening). Clilck the image for a larger version:

While it did a great job of removing noise, it also removed details like the flooring and Lego seams. However, the image is clean so at a quick glance it looks very good. I do notice a bit of a color shift as a result of the loss of detail (i.e., the blue streak in the right corner). Here’s a comparison to the other products from the roundup (click for a larger version):

There's no doubt this is the smoothest most noise free image, but some valuable details are definitely lost.
Canon Rebel XTi @ ISO 800
Here’s the Tokyo shot used for the round-up that is quite forgiving of aggressive noise reduction. Pay attention to the grid lines on the building in the back of the scene on the bottom left side of the image when you hover in and out below. Click the image for a larger version:
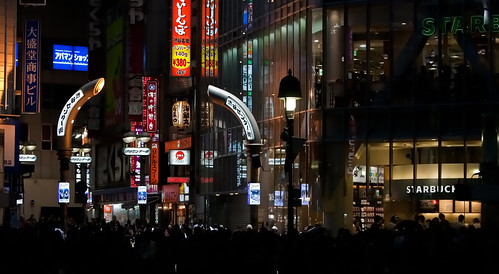
Again, this is a noise free image after the modification but there’s a loss of some color and detail, but this image seems to live without them fairly well. Here’s a close up that compares Denoise 3 to other round-up products:

Canon 5D Mark II @ IS0 2500
Pay attention to the little girl’s hair when you hover in and out below (click for a larger version):

The hair detailed and fabrics are destroyed, but otherwise this image is fine with the loss of some detail. Of all the images here, I think this one is least suited for Denoise 3’s super smooth preset as most will find the detail loss in the hair to be unacceptable.
In the blow up below you definitely see that there’s no need for skin softening techniques as the skin is stripped of detail:

Canon 1D Mark III @ ISO 3200
Pay attention to the building on the left side of the image when you hover in and out below (click for a larger image):
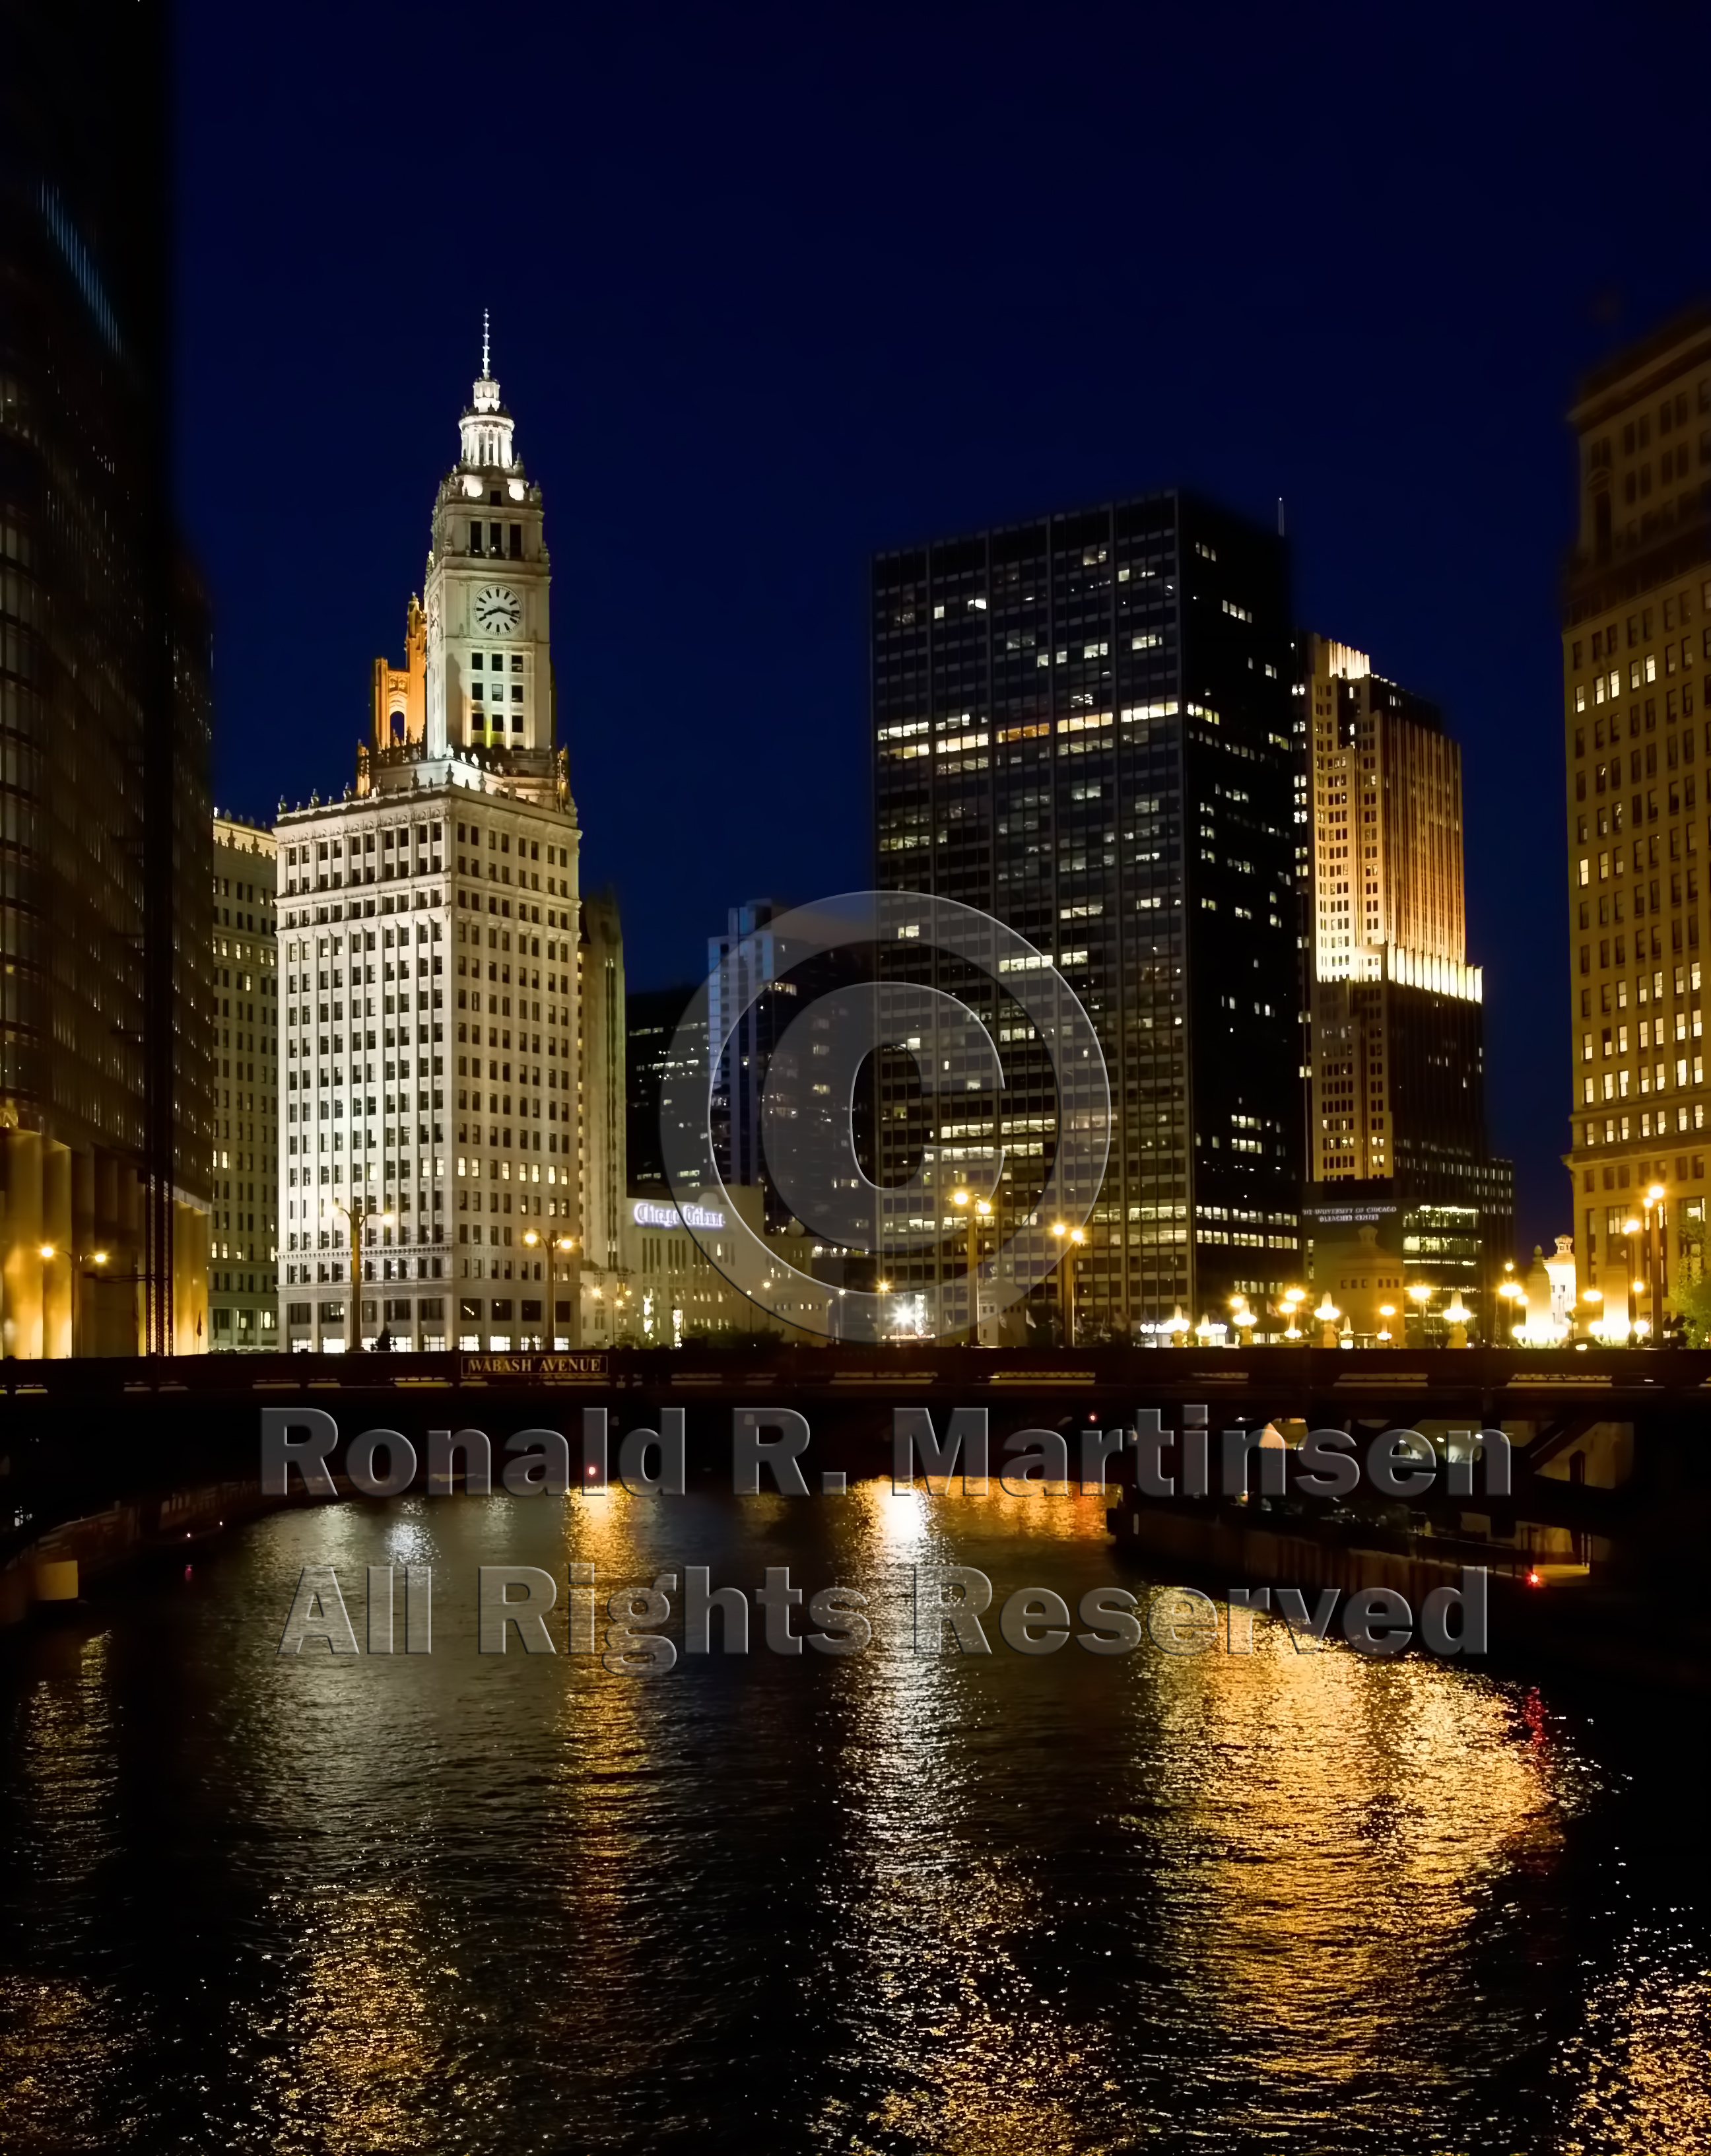
There’s a big loss in the gold color in the image after noise reduction above, so again I found this image to be less suited for Denoise 3.
In the blow up below the loss of detail in the carvings on the tower is pretty intense, but the sky cleans up very nicely. Click for a larger version:

Conclusion
As I mention in the noise reduction roundup, noise reduction is a very subjective thing. Some will consider the results that Denoise 3’s super smooth preset to be the superior choice because it does indeed remove the most amount of noise. Others may find the artifacts in the other presets acceptable, and chose to use those settings. However, I believe many will question the loss of detail or artifacts and will prefer the winners of the roundup Noiseware (1st) and Dfine (2nd) because of their ability to save critical details while maximizing the amount of noise removed. Still others will continue to prefer Noise Ninja as printing is more forgiving with noise than big displays, and it offers the widest range of noise reduction options on the market.
Like all noise reduction products you can tweak the controls to suit your needs, but I found the user-interface of Denoise 3 to be the least enjoyable user-interface to use. It’s functional, but obviously designed by a developer for geeks without typical consumer level usability testing. My recommendations for Topaz Labs moving forward would be to:
- Try to settle on something a little less aggressive than Super Smooth and get to the bottom of the artifacts appearing in the other presets. Since you offer downloadable presets, this is something that would be easy to retrofit into the existing product (well done).
- Invest in a good user-interface expert to give the UI a major overhaul so that it is consistent with standard user-interface paradigms (menu’s belong up top, not behind menu buttons, and the whole use / layout of buttons is poor throughout the UI).
- Work on the performance after you apply a filter (and ideally have an option to apply the effect on a new composite (think opt/ctrl+alt+shift+e) layer.
- Consider a Lightroom add-in version.
- Keep doing what you are doing very well – the presets with thumbnails is an excellent idea.
Special Offer
Purchase your copy of Topaz Labs Adjust at 15% off the normal rate when you use the discount found on my discount coupon code page.
1 comment:
I think that you should make a little less noise reduction with the Topaz denoise, I've been using it for a while now and I found that when well used, preserving the same details it can remove more noise. Just a tweak thing.
Post a Comment